
Views: 0 Author: Site Editor Publish Time: 2024-04-25 Origin: Site


LED chandeliers have become a centerpiece in modern home décor, combining aesthetic appeal with energy efficiency. Their installation might seem daunting, but with the right guidance, it becomes a manageable and rewarding project. This guide will walk you through the necessary steps to successfully install LED chandeliers, ensuring that your space is illuminated with elegance and style.
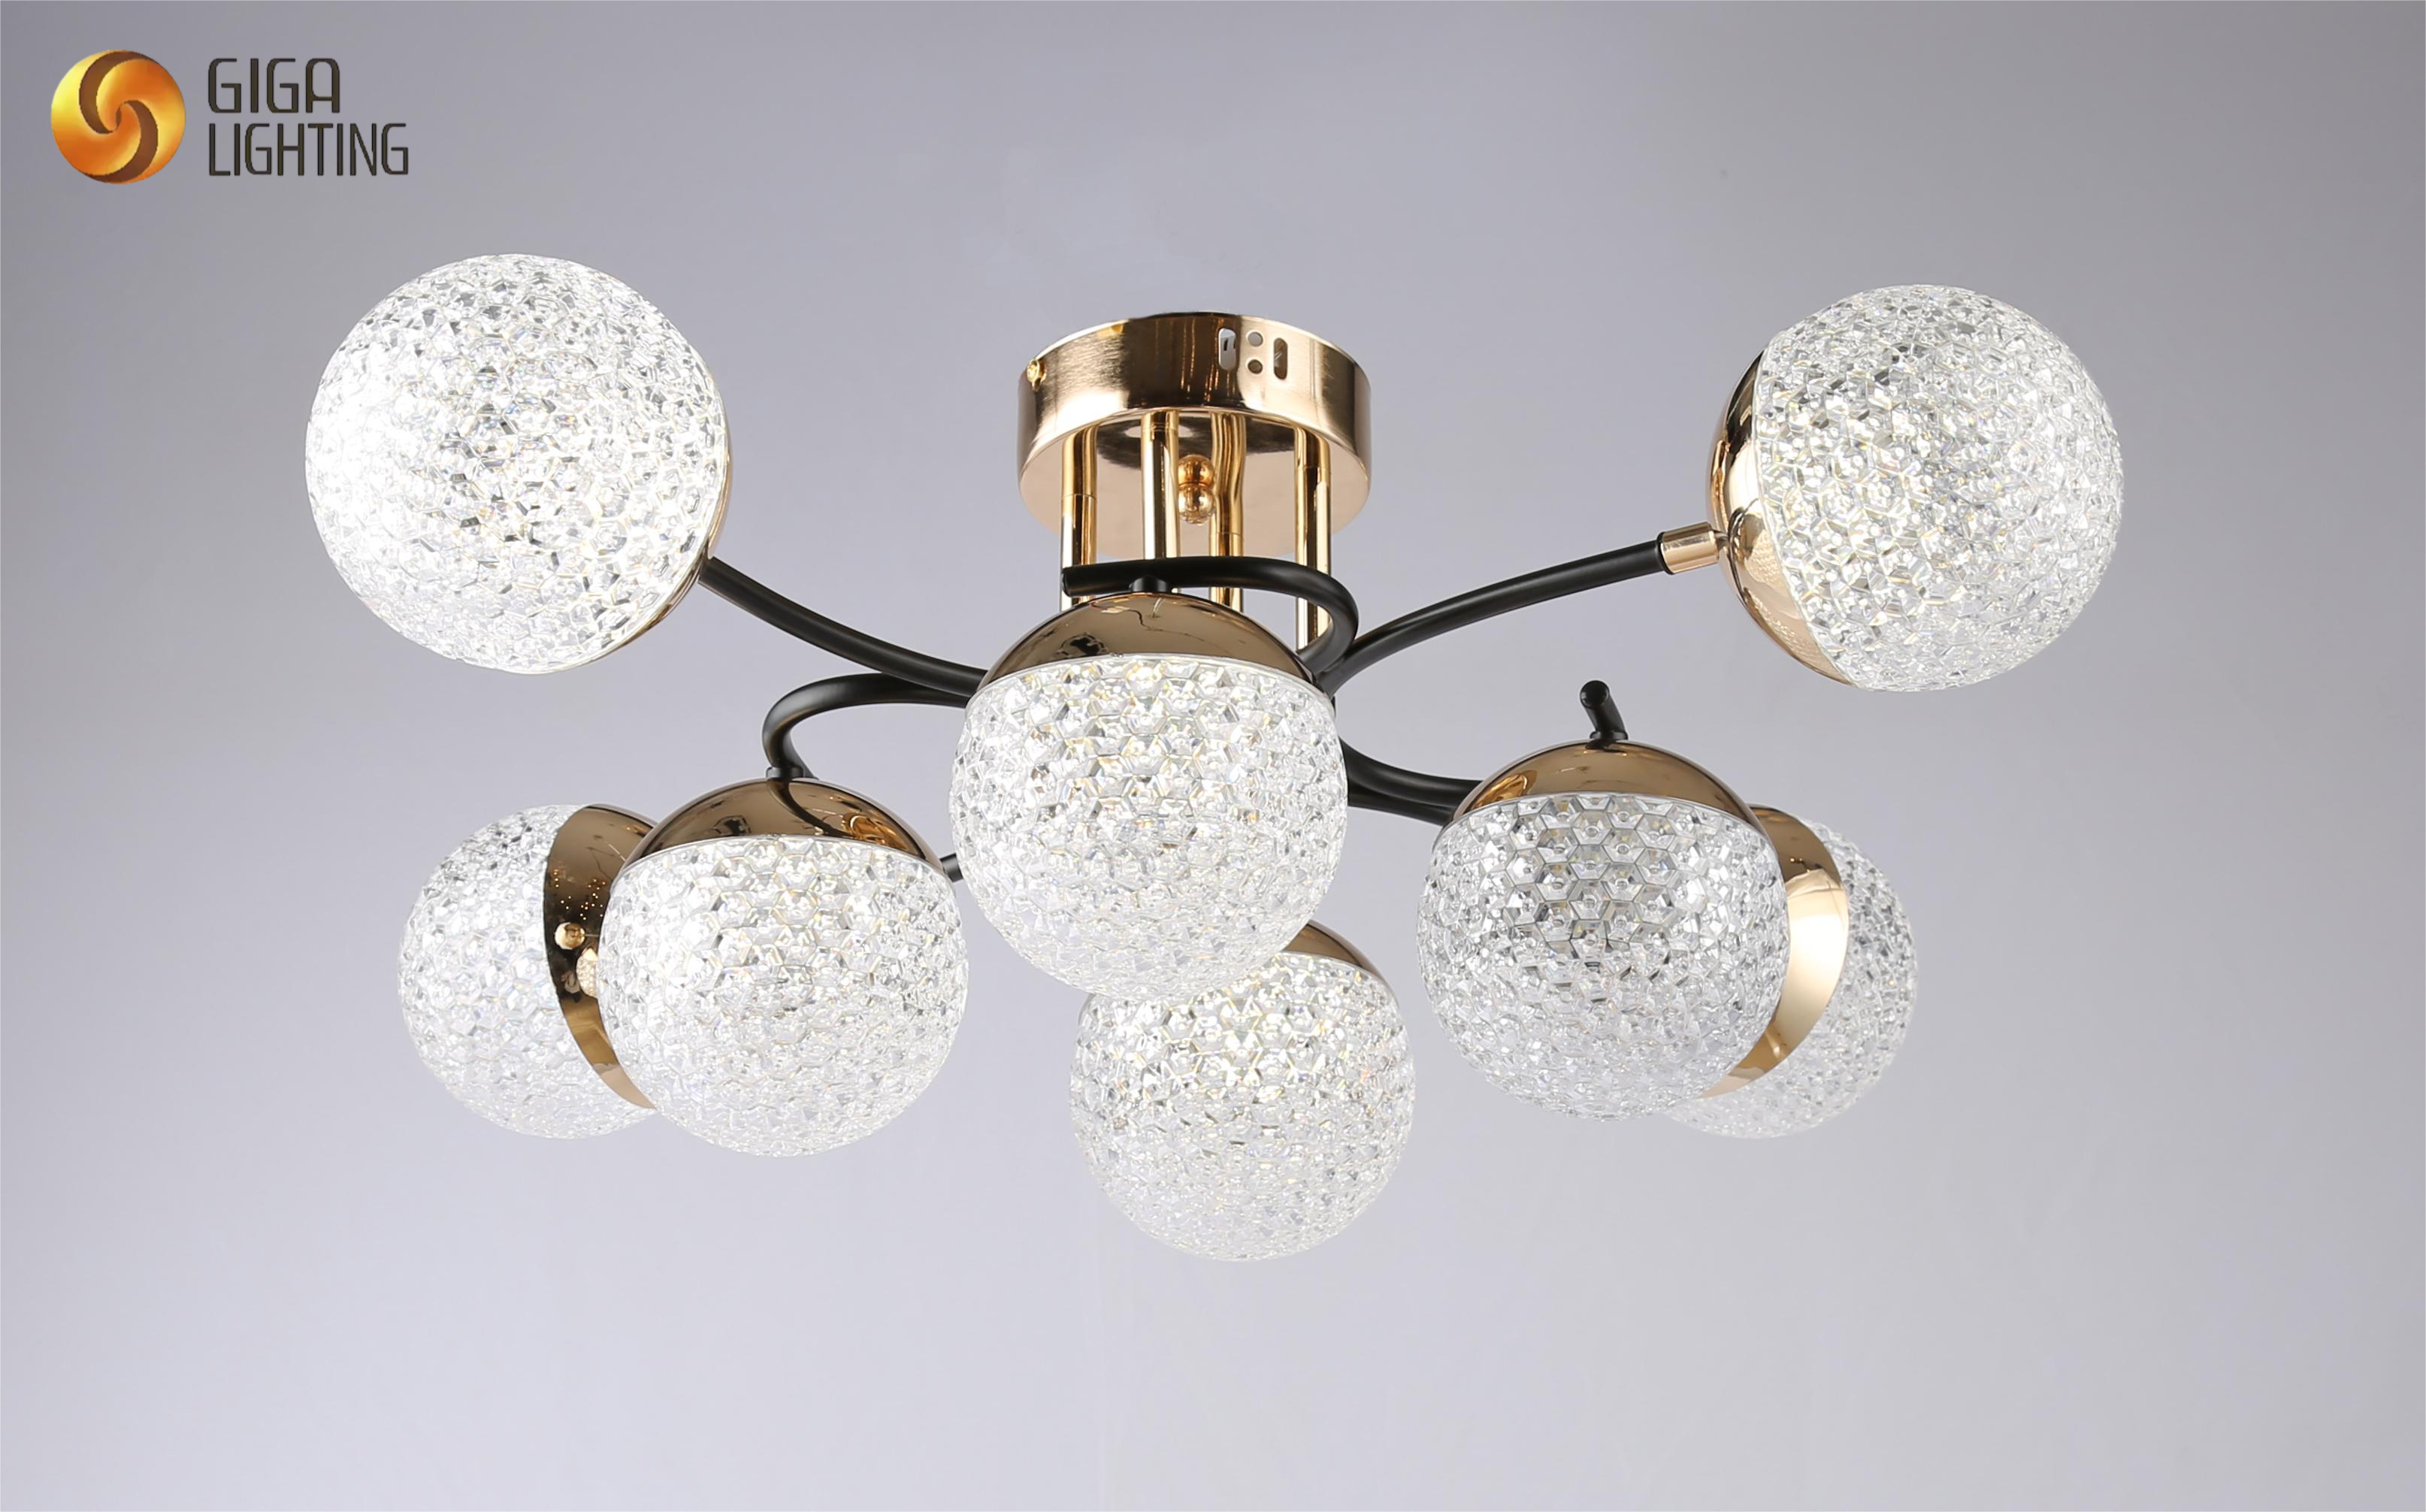
Before diving into the installation process, it's crucial to familiarize yourself with the components of LED chandeliers. Typically, these lighted chandeliers consist of the LED light source itself, a mounting bracket, wires, and decorative elements. Understanding these components will aid in a smoother installation process.
Size, design, and luminosity are important factors to consider when choosing LED chandeliers. Ensure that the size proportionally fits the space where it will be installed and that its luminosity is adequate for the intended ambiance.
Common tools for the installation include a ladder, screwdriver, wire stripper, and electrical tape. Safety equipment such as gloves and protective eyewear are also essential to prevent any accidents during installation.
Preparation is key to a successful installation. This involves ensuring that the power is turned off at the breaker box to prevent any electrical hazards. Additionally, inspecting the existing wiring and junction box for compatibility with your LED chandelier is crucial.
Ensuring that the power is off is crucial for safety. Double-check using a voltage tester before proceeding with the installation.
Evaluate the ceiling area where the LED chandelier will be installed. Ensure it is free of any structural issues and capable of supporting the weight of the chandelier.
With preparations complete, the next step is to mount the LED chandelier. This involves securing the mounting bracket to the ceiling, connecting the wires correctly, and then attaching the chandelier to the bracket.
Attach the mounting bracket to the ceiling junction box using screws. Ensure it's securely fastened to support the weight of the LED chandelier.
Carefully connect the chandelier's wires to your home's electrical system. Typically, this involves connecting like colors together—black to black (hot), white to white (neutral), and green or bare wire to the ground. Use wire nuts and electrical tape to secure these connections.
With all connections made, carefully lift and position your LED chandelier onto the mounting bracket. Secure it as per the manufacturer's instructions. Once in place, turn the power back on and test your new lighted chandeliers to bask in their glow.
Flip the switch to illuminate your space with your newly installed LED chandelier. Adjust any settings or dimming functions to suit your preference, and enjoy the enhanced ambiance of your room.
To ensure longevity and sustained brilliance from your LED chandeliers, regular maintenance is key. Dusting and cleaning according to manufacturer's instructions will keep them shining bright.
In conclusion, installing LED chandeliers can transform any space into a statement of modern elegance and efficiency. By following these steps and adhering to safety precautions, you can successfully install lighted chandeliers that will elevate your home's décor for years to come.